|
4
|
|
5
|
|
7
|
|
9
|
|
10
|
|
11
|
|
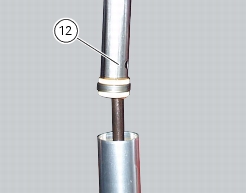
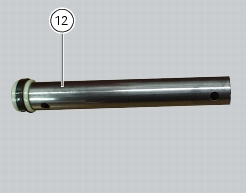
12
|
|
13
|
|
14
|
|
16
|
|
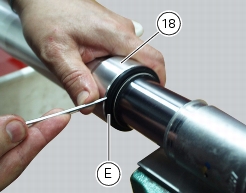
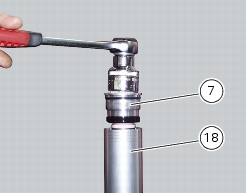
18
|
|
20
|
|
21
|
|
22
|
|
24
|
|
25
|


|
-
|
|
-
|


|
-
|
|
-
|

|
-
|
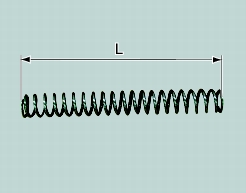
270 mm.
|
|
-
|
maximum allowed error 0.10 mm.
|


|
-
|
270 mm.
|
|
-
|
maximum allowed error 0.10 mm.
|